|
|
|
|
Changing the IP address of an Instrument Installed on a Static IP Network |
|
It may be necessary to change the IP address of an instrument installed on a Static IP Network. For example, if you installed the device with an IP address that was designated to another PC or device on the network, you will have to change one of the devices IP addresses for them to both work. This is easily done in the DATAQ Instruments Hardware Manager.
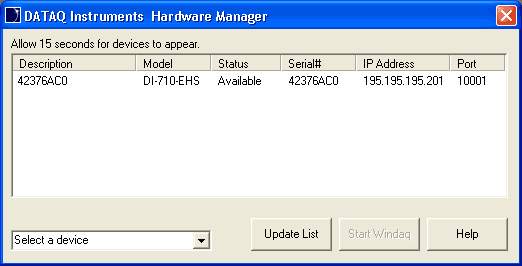
1. Highlight the device you would like to change the IP address of. It is possible that the device does not appear in the list at all. In this case click anywhere in the white space of the device list (below any instruments shown - i.e., select no device).
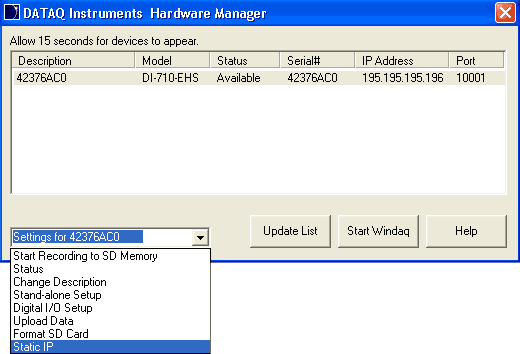
2. Click on the Static IP command in the drop-down list. If the Static IP command does not show up in the command list then this feature is unavailable for the selected instrument.
3. Select the device from the list. Confirm that the MAC address on the sticker located on the bottom of your device matches the MAC address shown in the list.
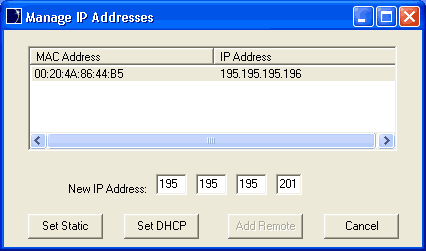
4. The software will automatically enter the first portion of the New IP address based on your Subnet mask. Enter a new IP address in the space provided (whichever boxes are able to be edited will appear blank and must be filled in). You may need to use the backspace key before entering the new number. If the number is already being used you will get the following error message.
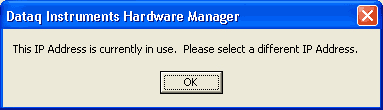
Select a different IP number and try again. It is safest to use an integer between 3 and 254. This IP address cannot be the same as the IP address of your network card.
5. Click on the Set Static button. Your device will now appear with its new IP address. Note: It may take more than 15 seconds for the device to appear in the list.